skip to main | skip to sidebar

Pages

  • Home

"So Licious!"

Delicious Recipes To Tempt Your Tastebuds

Betty Crocker's Pie Crust

5:51 PM | Publish by sonflower

The Lemon Chiffon Pies I made yesterday could also be placed into a regular pastry crust.  I have tried many different pie crust recipes but they all have the same four ingredients, just made in different quantities.  However, the crust that I keep going back to time-after-time is the one in my Betty Crocker Cook Book.  A cookbook my husband and I received as a wedding present 30 years ago this October!
The hard cover and back are both missing and pages are falling out.  Really this is all due to just two of my faithful, stand-by recipes I always use this cookbook for, my pie crust and pancake recipes.  These are THE BEST recipes!!!  I even have the page numbers memorized, no not marked with a paper clip or bookmark or anything, I literally have the page numbers memorized; pie crust pg 289 and pancakes pg 197.  You would think I would have these two recipes memorized too if I have used the same ones for 30 years!  No, not so, just something I don't clutter my brain with.  Brain space is precious as we approach 50!  Seriously!  The page numbers are enough!  Although, you would think after all these years I would have at least written them down on recipe cards to save my pour Betty Crocker Cook Book.  Maybe I'll do that when I am finished with this!

Note:  I actually use the recipe below when making a one crust pie for my Pampered Chef deep dish pie stones.

From my Betty Crocker Cook Book copyright 1978:

8 or 9 Inch Two-Crust Pie

2/3 cup plus 2 tablespoons shortening or 2/3 cup lard
(I use 2/3 cup plus 2 T Butter Flavored Crisco)
2 cups all-purpose flour
Note: If using self-rising flour, omit salt.  Pie crusts made with self-rising or whole wheat flour differ in flavor and texture from those made with all-purpose flour.
1 t salt  (I only use 1/2 t since the Butter Flavored Crisco is salty)
4 to 5 Tablespoons cold water
(I use a measuring cup filled with ice and water, not just water from the tap)
(I also add 1 T granulated sugar but the Betty Crocker Recipe does not call for it)

Cut shortening into flour and salt until particles are size of small peas.  Sprinkle in water, 1 tablespoon at a time, tossing with a fork until all flour is moistened and pastry almost cleans side of bowl (1 to 2 teaspoons water can be added if necessary)


(I use a pastry blender, and haven't ever had to add the extra 1-2 teaspoons water.  However, I live in a very humid climate in the summer and somewhat humidity in the winter.  The amount of water you use each time you make this recipe will vary.  I always use at least 3 tablespoons, usually 4 max, but I have had to add 5 tablespoons on very rare occasions.)


Gather pastry into a ball; shape into flattened round on lightly floured cloth-covered board.

(For Two-Crust Pie, divide pastry into halves and shape into 2 rounds.)  Roll pastry 2 inches larger than inverted pie plate with floured stockinet-covered rolling pin.  Fold pastry into quarters; ufold and ease into plate, pressing firmly against bottom and side.


(I use a Pampered Chef pastry mat when rolling out my crust.)


For One-Crust Pie: Trim overhanging edge of pastry 1 inch from rim of plate.  Fold and roll pastry under, even with plate; flute (see page 291).  Fill and bake as directed in recipe.

For Baked Pie Shell: Heat oven to 475 degrees.  Prick bottom and side thoroughly with fork.  Bake until light brown, 8 to 10 minutes; cool.

For Two-Crust Pie: Turn desired filling into pastry-lined pie plate.  Trim overhanging edge of pastry 1/2 inch from rim of plate.  Roll other round of pastry.  Fold into quarters; cut slits so steam can escape. Place over filling and unfold.  Trim overhanging edge of pastry 1 inch from rim of plate.  Fold and roll top edge under lower edge, pressing on rim to seal; flute (see page 291).  Cover edge with 2 to 3 inch strip of aluminum foil during last 15 minutes of baking.  Bake as directed in recipe.  

Note:  If possible, hook fluted edge over edge of pie plate to prevent shrinking and help pastry retain its shape.

Page 291 fluting pictures:
Ruffle


Pinch
Fork
Spoon Scallop
Cutouts


I have my own way that is sort of like the "Pinch".

Whole Wheat Pastry:  Prepare filling before preparing pastry.  Substitute whole wheat flour for the
all-purpose flour or substitute stone-ground whole wheat flour for half of the all-purpose flour.  Fold rolled pastry in half instead of into quarters.

There are TWO SECRETS to a good pie: 1) Do not over work your pastry dough when you are initially mixing it.  2) Once I have rolled my pastry out, I do not use the extra dough and re-roll another crust for a pie.  The dough will become too tough.

Besides, if you have left over crust here is something else you can do!  Take any left over pastry dough, roll out, cut into strips and sprinkle with cinnamon and sugar, then bake.  These are great little snacks with a cup of coffee, hot cocoa or tea.


Or, you could put them on top of ice cream!  Also, I make an apple pie that actually calls for raw pastry dough to be cut into 1 inch squares and mixed with cinnamon, sugar, flour and pecans as a pie crumbly topping, placed on top of the raw apples and then baked!


I'll save that recipe for another blog!

1 comments

Lemon Chiffon Pie

12:19 PM | Publish by sonflower

I have tried two Lemon Chiffon Pie recipes in the past week.  One of the recipes I would consider "Quick and Easy", the other is a little more time consuming (or shall we say more gourmet!).

The first recipe I tried last week, and I must say the first pie I made, was not quite lemony tasting so I have adjusted my recipe accordingly when I made the recipe a second time.

Lemon Chiffon Pie - gourmet style!


1               Refrigerated Pie Crust
3 t             unflavored gelatin
2 T            water
3/4 c          granulated sugar, divided
1/2 c          lemon juice
1/2 t           lemon zest
1/4 t           salt
2                eggs, separated
1 c             heavy whipping cream, whipped
1 oz.          semi-sweet chocolate
1 t              butter  

In a mixing bowl; using an electric mixer, whip cream until it becomes thick.

Use an 8 or 9 inch pie pan, a metal/aluminum pan actually works best.  Place crust into pie pan.  Bake pie crust as directed, and allow to cool.  While crust is baking, place water into a saucepan and sprinkle gelatin over water; let stand for 1 minute.  Heat over low heat stirring until gelatin is completely dissolved.  Stir in 1/2 cup sugar, lemon juice, lemon zest and salt.  Cook and stir over medium heat until sugar is dissolved.  Remove from heat.

Whip egg yolks, then stir a small amount of hot filling into egg yolks; return all to pan, stirring constantly.  Cook and stir over low heat for 3 minutes or until mixture is slightly thickened and a thermometer reaches 160 degrees (DO NOT allow to boil).   Cover and refrigerate for 45 minutes, stirring occasionally.

In a small heavy saucepan, combine egg whites and remaining sugar over low heat.  With a wire whisk (or electric mixer) whip/beat mixture briskly/(or low speed if using electric mixer) until mixture reaches 160 degrees.   Remove from heat.  Beat on high until stiff peaks form.  Fold into lemon mixture; gently fold in whipped cream.

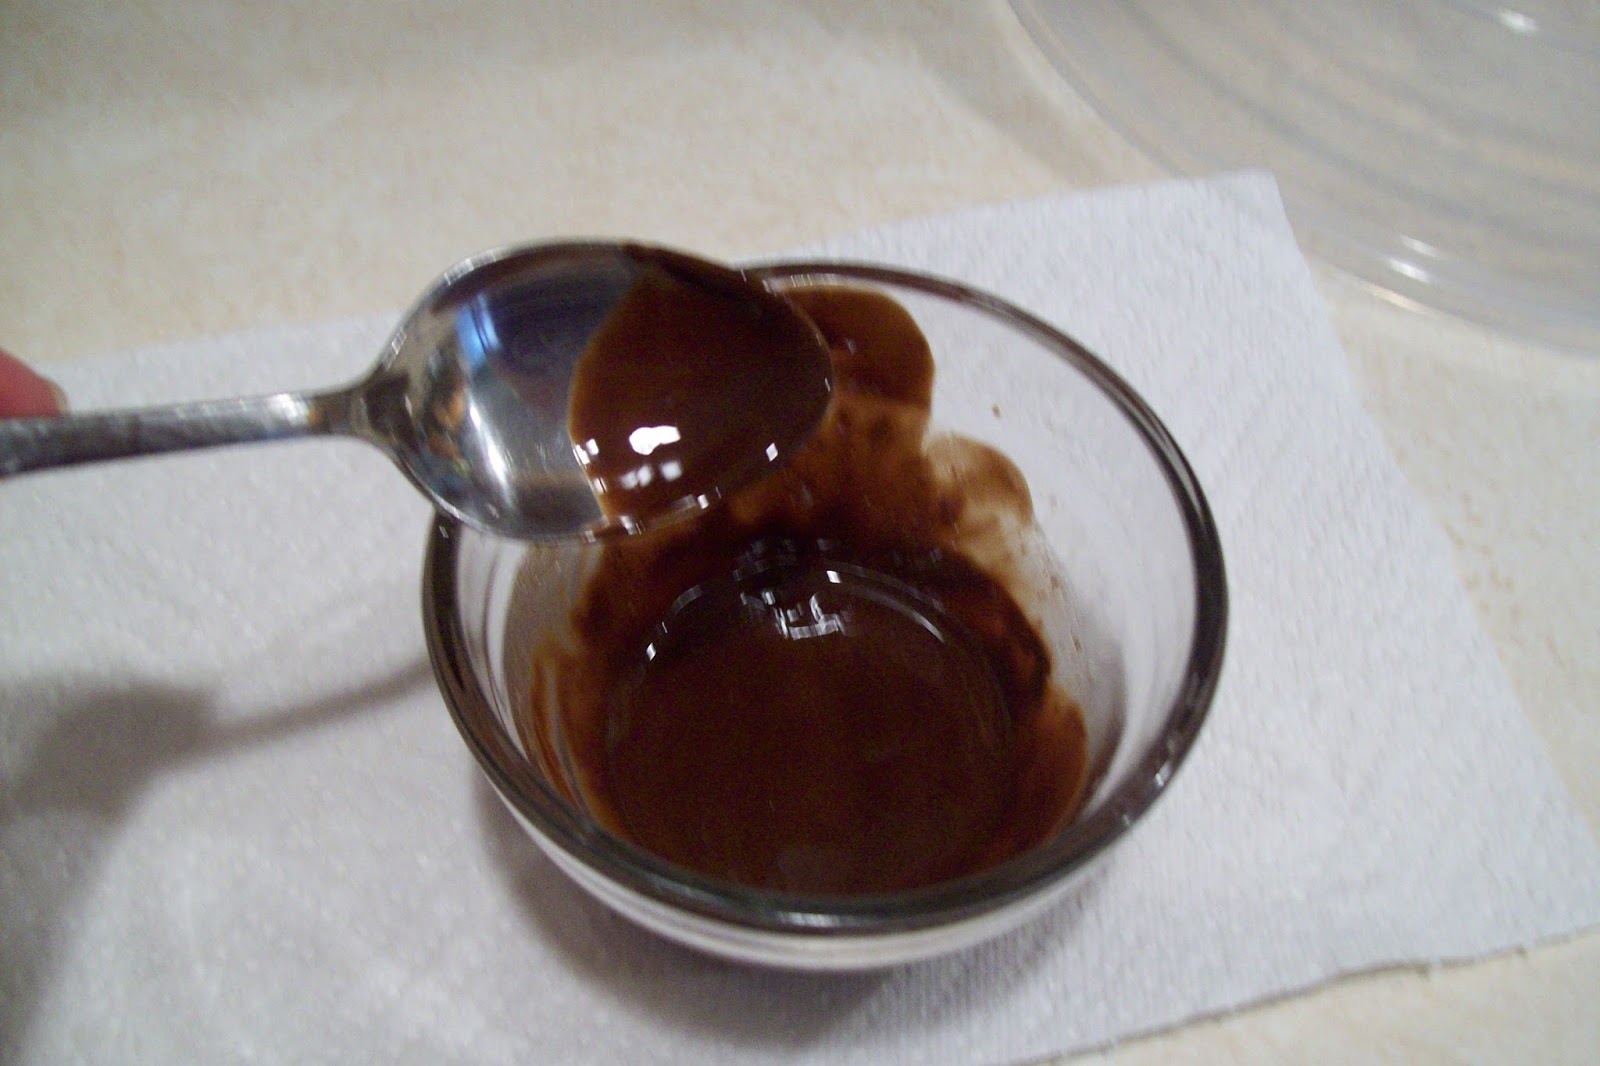
In a microwave, melt chocolate and butter; stir until smooth.


Spoon a third of the lemon mixture into a pie shell; drizzle with half of chocolate mixture.  Repeat layers.  Top with remaining lemon mixture.


Cover and refrigerate for 2 hours or until set.
This recipe will serve 4 to 8, depending on how you like to cut your pies!


Lemon Chiffon Pie - "Quick and Easy" recipe

1 box        Krusteaz Lemon Bar Mix
2 c            heavy whipping cream
1-2 drops  yellow food color (optional)

1.   Preheat oven to 350 degrees.
2.   Press full pouch or complete crust firmly into bottom of 8 - 9 inch lightly greased pie pan.
3.   Bake 15 minutes.
4.   Let cool completely.
5.   Place whipping cream, full pouch of filling mix and food color in large bowl.
6.   Using an electric mixer, mix on high speed until mixture is thick.
7.   Spoon mixture into baked pie shell and chill 2-3 hours or overnight.
8.   Optional: garnish with lemon zest and pipe whip topping around the edge of pie, drizzle with chocolate.  Or, pipe whip topping around the edge of pie and place raspberries around whip topping edge and drizzle with chocolate!  So, Licious!!!!
9.   Slice into 4-8 servings; depending on how small/large you like your pie slices.
10. ENJOY!!!


0 comments

Grilled Cheese and Bacon Pizza

7:16 PM | Publish by sonflower

In my sidebar each week I am hoping I will have adventured upon a new eating establishment or new menu item, that my taste buds had not previously had the privilege to consider "So Licious".

That being said, we did not eat out or indulge in anything other than what we made at home this week, so my sidebar will stay the same until such time.

However, I did try my hand at making my own version of AJ's Grilled Cheese and Bacon Pizza!!

I had some Amazing Whole-Wheat Pizza Dough left over from my adventures with the campers on Monday afternoon at A1C Camp!  I also had sauce and cheese left over.  In the meat compartment of our refrigerator we also had 8 slices of Oscar Mayer regular cut bacon that needed to be eaten.

What was once left-overs and slim pick'ins on their own would now make a whole meal!  YUMMMM!

Step #1 - Fry Bacon!


Crispy bacon is what you are wanting in order for it to crumble well!


Step #2 - Mix 3 different cheese blends together in a mixing bowl

I used about 2 cups of shredded mozzarella, 
1/2 cup of this Kraft Shredded Parmesan, Romano and Asiago Cheese,
1/2 cup shredded sharp cheddar.  


Mix together until well blended.


Step #3 - Roll out already made Amazing Whole-Wheat Pizza Dough
               (This recipe can be found under the Blog Archive, which is in the right-top side bar.
                   click on 2008, then click on June, then click on The Frazzled Female.  
                   The pizza sauce recipe can be found in this blog post as well!)


Roll out onto pizza pan that has been sprayed with cooking spray.


Roll out so that dough hangs over the edge of the pizza pan.
Note: dough thickness can be as thin or thick as is preferred by your family.


Once dough is completely rolled out and hanging over the edge on all sides,
gently roll dough back up onto pizza pan (just to the edge) 
so that it creates a lip to hold your sauce onto the crust.


So it should look something like this!
Allow crust to sit for 15 minutes if you like a thicker crust,
if not add bacon and cheese immediately.

Step #4 - Spread pizza sauce on to uncooked crust

Start with a "blop" of sauce
 (Yes, that is the technical cooking term I am going to use).


Next, start spreading your "blop" out in a circular pattern adding more "blops" of sauce as needed.
Remember, the more sauce you use the soggier your crust will turn out.


I use the "less is best" rule since we like thin and crispy crust!

Step #5 - Add just a handful or two of cheese mixture, spread evenly over the sauce,
                   before placing your bacon on top of the sauce.  
                   Note: This is a good technique to use for any type of pizza.  
                   This will allow the toppings to stick to the crust.


Step #6 - Add bacon, crumbling the pieces as you put them on top of the sauce.
                  (I used 8 strips of fried, crispy bacon.  You may use as much or less as you prefer.)


Step #7 - Spread remaining cheese mixture evenly over the dough, sauce and bacon.


Step #8 - Bake in preheated 425 degree oven for 16-20 minutes, checking at the minimum time,
                  pizza should be golden on top.


Allow to cool for about 5-7 minutes.


Slice and enjoy!!


1 comments

My Inspiration Behind Oven-Dried Tomatoes

11:02 PM | Publish by sonflower

I have a really dear friend that is hosting her annual A1C Camp next week.  She has 30 campers that will be in attendance, ranging in age from about 5 to 18.  She was needing a little help with an activity for Monday.  I checked my calendar, saw I would be available to help, then asked myself how I could help my friend and her 30 campers.

After a little pondering whether I would do a craft or what exactly, with the 30 campers, I thought about some recipes that I have come up with in the past.  Recipes that have been liked by not only my own family but others we have invited over to share a meal, or that I have made at one of our summer Bible studies.  A recipe would be the activity I decided.  Now, what would be inexpensive, fun, and a healthy snack alternative for these campers?  A healthy snack alternative packed with more protein and fiber than carbs?  Also a healthy before ball practice, after school or summer snack that could be pre-cooked, placed in the freezer and then taken out and popped in the microwave.   The gears were turning!  How about my Amazing Greek Pizza with homemade pizza sauce and my whole wheat pizza crust?!?!?  Yeah!  That's it!

Then I had another idea, DING!  My friend had talked about having someone come later in the week to  teach the campers how to juggle.  They were going to give the students a set of their very own juggling balls to take home with them that day.  What could I have for the campers to take home?  I know!
I usually put sun-dried tomatoes on my Amazing Greek Pizza.  How about if I tried my hand at sun-drying some tomatoes and we use those on our pizzas, then have a tomato plant for each camper to take home?!?!?  The goal: for the campers to invest time and energy into growing their own tomatoes, and in turn take an interest, and learn how to enjoy the different flavors of vegetables!

Extra bonus too, let me tell you about this!  We refinished our wood floors this month.  This prompted me to clean out any extra things in closets, the house, my two areas in the garage, etc.  Or as another friend of mine said today, "purge" these areas that we need to reclaim as open areas not to be refilled by "stuff"!  I liked the use of her word, "purge".  Webster's defines purge - to rid of something that is unwanted.  I must say some of those things I "purged" from our home weren't necessarily unwanted they were just items needing to be gotten rid of.  As I was in the garage purging my area of items, I kept noticing that my husband had acquired a large quantity of 5 gallon and 1 gallon buckets.  I decided we needed to "purge" some of these from our garage.  I will use the word "purge" for these because they were "unwanted" by me.  I would give each camper there very own tomato plant to plant in their very own 5 gallon bucket!!!  Yes, believe it or not, there were enough 5 gallon buckets for 30 campers, and then some!!!  Can I get a "hoarders" from anyone!!!!

Okay, back to my homemade sun-dried tomatoes.  I found a recipe on the internet that I will share with you: http://litu.dlife.com/diabetes/diabetic-recipes/recipeDetailPrint.html?id=7855 and I made my very own oven-dried tomatoes!  I have to tell you though, this process took way longer than the recipe said, probably because I changed things just a little.  I had a little over 2 lbs. worth of Roma Tomatoes, I added olive oil in the bottom of my baking dish, and I roasted them in my roaster oven so I had added water to the bottom of it.  Took almost 10 hours to get these to the dried perfection I wanted.

Here are some pictures and the steps involved:

Step 1:  Wash tomatoes.
2 lbs. of Roma Tomatoes or your choice of tomato variety.

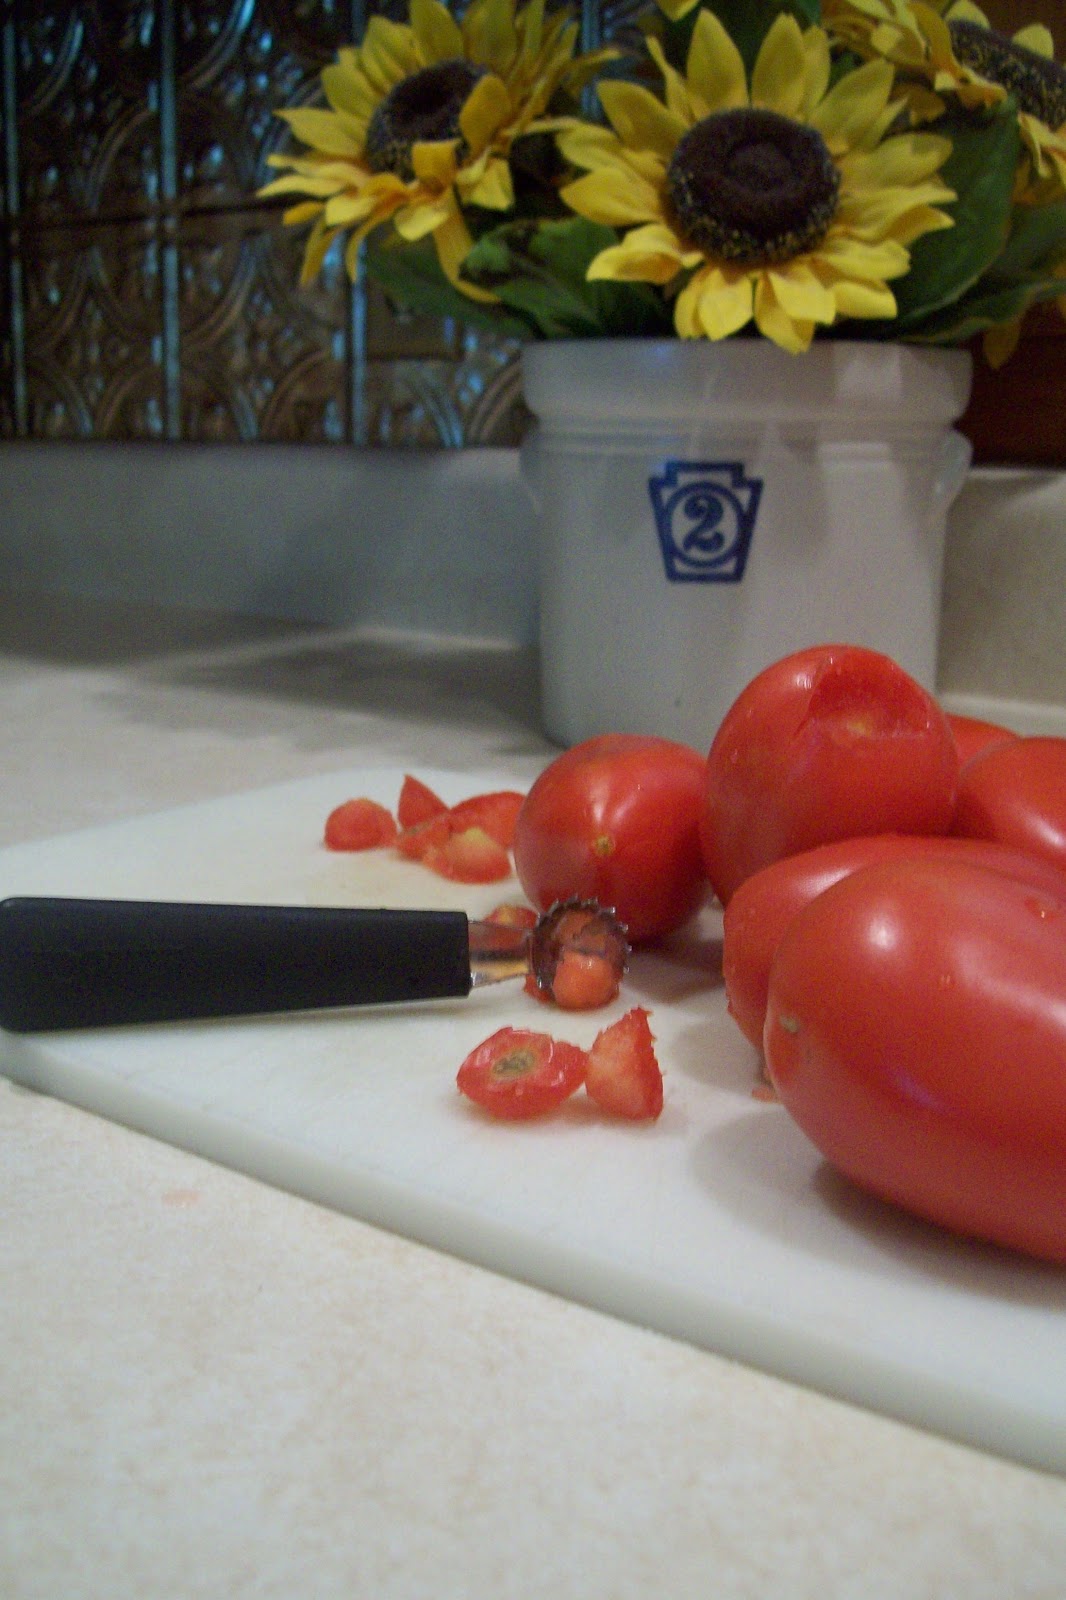
Step 2:  Remove tomato stem. 

Step 3: Slice tomatoes in half, length-wise.

Step 4: Sprinkle with sea salt and place on paper towels skin side up.

Step 5:  Press or chop, finely 2 cloves of garlic.

Step 6: Place a thin layer of olive oil in  the bottom of a cookie sheet or   9x13 baking pan.
(do not use a cooking stone)
Pressed Garlic
Step 7: Place tomatoes on cookie sheet or baking pan
 that has a thin coat of olive oil in the bottom, skin side down.
Step 8: Sprinkle sea salt generously onto tomato halves.
 Next, using a spoon place pressed garlic on the top of each tomato half.

Step 9:  Bake in oven or roaster oven.
 (I cooked mine in this roaster oven on our patio.)

Cook in oven/roaster oven, on 300 degrees, for 6 hours.

Beginning of cooking time.

Step 10:  Finished Product!
Store in air tight container in the refrigerator up to 1 week.
Store in air tight container in freezer up to 3 months.
Use in any recipe that calls for tomatoes!

Labels: Oven Dried Tomatoes, sun dried tomatoes 0 comments

Musician's Famous Goolash Demonstration

7:11 PM | Publish by sonflower

Musician and I have been busy getting her demonstration speech on video and emailed to her instructor!! Technology is great when it works!!!

I was able to borrow this really cool little video camera from the school, the camera isn't any bigger than an actual small digital camera that takes pictures. That was just a big challenging because I didn't think to bring the manual home with me and we were having trouble with the card lock being on and not being able to turn it off. Musician had a fabulous idea, sometimes she can be such a great problem solver. She got to thinking that the picture card in her own digital camera was about the same size, so she got it out and looked, and sure enough!!! So then she put her card in the video camera, and no problem! We were able to video!!

Next step was me filming her as she was doing her demonstration speech. However, then after we were done, we weren't really sure we got it on video, even though the camera told me it was recording. And, because she was doing a food demo and she had already mixed everything together, we were just really praying it was indeed on the card and at some point in time I would press the right button and we could watch what I had just recorded. Sure enough, I finally found the right button!!! Whahooo!!!

Next up, was loading on to the YouTube sight. That was amazing in itself as well. No wonder there is so many silly, and informative things on YouTube, it really is fairly easy.

Lastly, she just had to copy and paste the video link from YouTube to her instructor in an email, and that my friends is how college students in the year 2011 can take a speech class and receive full college credit, without having to stand in front of a huge group of students and be scared out of your whits. WOW! Wish I could have taken my speech class like this!!!

Okay, so now I am going to share this video with you of Musician making her famous Goolash!!

8 comments
« Newer Posts Older Posts »
Subscribe to: Posts (Atom)

About Me

About Me
I am a wife to Felix and mother to William and Amanda. My husband and I are almost "empty nesters". William is 29 and is married to our wonderful daughter-in-law Jolene. Amanda is 21 and has a great guy in her life, David. I was a stay-at-home, homeschooling mother for 14 years. I am now and have been a paraprofessional for going on 8 years, in the school district in which our children attended high school. I come from a long line of women that love to cook, and on both sides of my family tree! My mother-in-law and sister-in-laws are great cooks as well! We are just a cook'n food lov'n family!! This website is a tribute to the generations of cooks in my family! I actually have to say that my Dad and my husband are really great cooks as well, so it didn't just stick with the women of the family. My husband probably enjoys cooking on the grill the most. My Dad makes the best steaks on the grill and taught me the art at the fresh age of about 10. My Dad also makes the best fried-chicken this side of the Mississippi river! I am not exaggerating either!! My favorite dish my husband makes is bacon wrapped, stuffing filled chicken breasts on the grill! The story behind the title of my blog, for those of you that are interested. When I was a little girl no more than 2 or 3, my Grammy and I used to have tea parties. She showed me the just right way of holding my tea cup, with your pinky extended in a "just so" position. We would drink imaginary tea and eat imaginary cookies from little cups and plates. Grammy told me as I was growing up of our times together. She said her favorite thing that I said was, "So, licious, Grammy, so, licious!" Thus the story of how my blog title came to be!

Sonflower

Sonflower
A couple of weeks ago I went with a friend to Juice Garden for lunch. Great place!!! I got a Strawberry Dream Blendee and veggie soup. Both were absolutely fabulous!!!

Musician

Musician

Labels

  • Oven Dried Tomatoes (1)
  • sun dried tomatoes (1)

My Blog List

  • ~~~Lori' Heart Notions~~~
    Like I'm gonna lose you (cover/accompaniment)
    9 years ago
  • Central Park Christian Church Women's Ministry Blog
    37th Annual Woman's World February 21-22, 2014
    12 years ago

Favorite Websites

  • America's Test Kitchen
  • BBQ Pit Boys on Youtube
  • Central Park Christian Church
  • Food Network

Contributors

  • catfishin
  • sonflower
Free Site Counters
Free Site Counters

Blog Archive

  • ▼  2013 (11)
    • ▼  August (1)
      • Here We Are Again!
    • ►  July (4)
    • ►  June (6)
  • ►  2011 (1)
    • ►  September (1)
  • ►  2010 (3)
    • ►  August (1)
    • ►  March (1)
    • ►  January (1)
  • ►  2009 (7)
    • ►  October (1)
    • ►  August (1)
    • ►  July (1)
    • ►  June (3)
    • ►  January (1)
  • ►  2008 (5)
    • ►  November (1)
    • ►  July (1)
    • ►  June (3)

Labels

  • Oven Dried Tomatoes (1)
  • sun dried tomatoes (1)
Copyright (c) 2010 "So Licious!". Design by Template Lite
Download Blogger Templates And Directory Submission.